How to Get Started with Polarr: Photo Filters & Editor?
- 1. Download and Install: Get the Polarr app from the App Store or Google Play Store.
- 2. Create an Account: Open the app, and sign up or log in to save your edits and access features.
- 3. Import Photos: Tap the "+" button to import photos from your device.
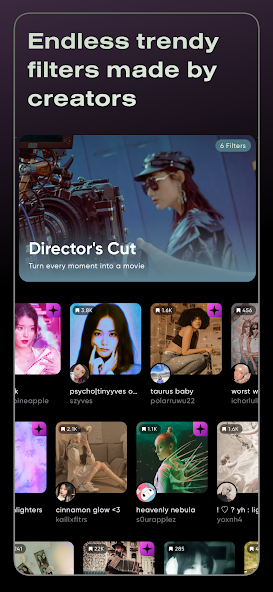
- 4. Explore Filters: Browse through the available filters to quickly enhance your photos.
- 5. Use Editing Tools: Access editing tools like exposure, contrast, saturation, and sharpness for adjustments.
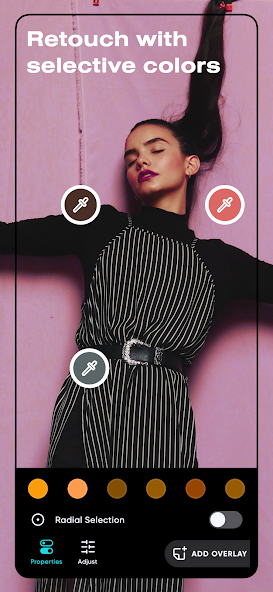
- 6. Adjust Local Settings: Use tools for selective editing, including brushes and gradient filters.
- 7. Add Text and Stickers: Customize your photos with text overlays and stickers available in the app.
- 8. Save and Share: Once satisfied with your edits, save your photo or share it directly to social media platforms.
- 9. Explore Tutorials: Check out tutorials within the app for additional tips and advanced techniques.
10 Pro Tips for Polarr: Photo Filters & Editor Users
- 1. Utilize the Curves Tool: Adjust shadows, midtones, and highlights for precise control over tonal balance.
- 2. Explore the HSL Adjustments: Fine-tune individual hue, saturation, and luminance for more vibrant colors.
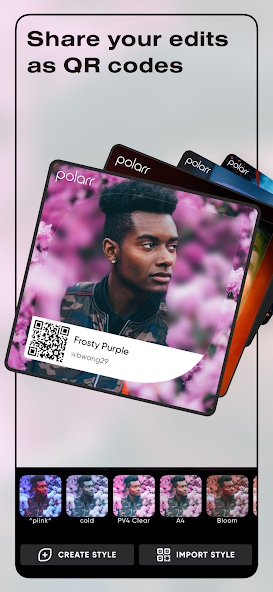
- 3. Use Custom Presets: Save your favorite filter settings as presets for quick access in future edits.
- 4. Experiment with Light Leaks: Add creativity and flair to your photos with light leak overlays.
- 5. Apply Brushes for Local Adjustments: Use brushes to enhance specific areas, like brightening a subject or adding contrast.
- 6. Leverage the Split Toning Feature: Add color casts to highlights and shadows for a unique aesthetic.
- 7. Master the Clone Tool: Remove unwanted objects or blemishes with precision using the clone feature.
- 8. Use the Histogram for Exposure Checks: Keep an eye on the histogram to avoid overexposure or underexposure.
- 9. Incorporate Vignettes: Draw attention to the center of your photo with subtle vignettes.
- 10. Regularly Update Your Workflow: Stay updated with new features and tools released in Polarr for enhanced editing capabilities.
The Best Hidden Features in Polarr: Photo Filters & Editor
- 1. Custom Filters: Create and save your own unique filters to use across multiple photos.
- 2. Batch Export: Apply edits to multiple images and export them simultaneously, saving time on large projects.
- 3. Advanced Healing: Use the healing tool to remove unwanted objects or blemishes with precision.
- 4. Gradient Masks: Apply effects to specific areas of a photo using gradient masks for more control over edits.
- 5. Local Adjustments: Make targeted adjustments to specific areas of an image using brushes and radial/linear gradients.
- 6. HSL Adjustments: Fine-tune colors with hue, saturation, and lightness controls for more nuanced color editing.
- 7. Custom Presets: Develop and save your own presets from existing edits for quick application in future projects.
- 8. Split Toning: Enhance your photos by adjusting the colors in the shadows and highlights separately.
- 9. Curves Adjustment: Use curves to make precise tonal adjustments, allowing more control over contrast and brightness.
- 10. AI Enhancement: Utilize AI tools to improve image quality or apply artistic effects effortlessly.
Polarr: Photo Filters & Editor Faqs
How do I apply filters to my photos in Polarr?
To apply filters, open a photo, then tap on the 'Filters' icon. Browse through the available filters and tap on one to apply it. You can adjust the intensity of the filter using the slider.
Can I create custom filters in Polarr?
Yes! To create custom filters, go to the 'Filters' section, tap on 'Create' or the '+' icon, then adjust the settings as desired. After making adjustments, save your custom filter for future use.
How do I adjust the brightness and contrast of my photo?
To adjust brightness and contrast, select a photo and tap the 'Adjust' tab. Use the sliders for 'Brightness' and 'Contrast' to tweak the settings until you're satisfied with the look.
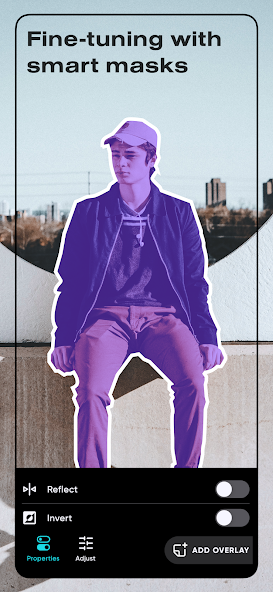
How do I use the masking feature in Polarr?
Using the masking feature involves the following steps: 1. Open a photo and select the 'Mask' tool. 2. Choose a mask type (e.g., Brush, Gradient). 3. Adjust the mask area by painting over the photo. 4. Edit the selected area separately.
What steps should I follow to export my edited photo?
To export your edited photo, do the following: 1. Tap the 'Export' button. 2. Choose your preferred resolution and format. 3. Adjust quality settings if needed. 4. Finally, confirm the export to save the photo to your device.


1.Rate
2.Comment
3.Name
4.Email