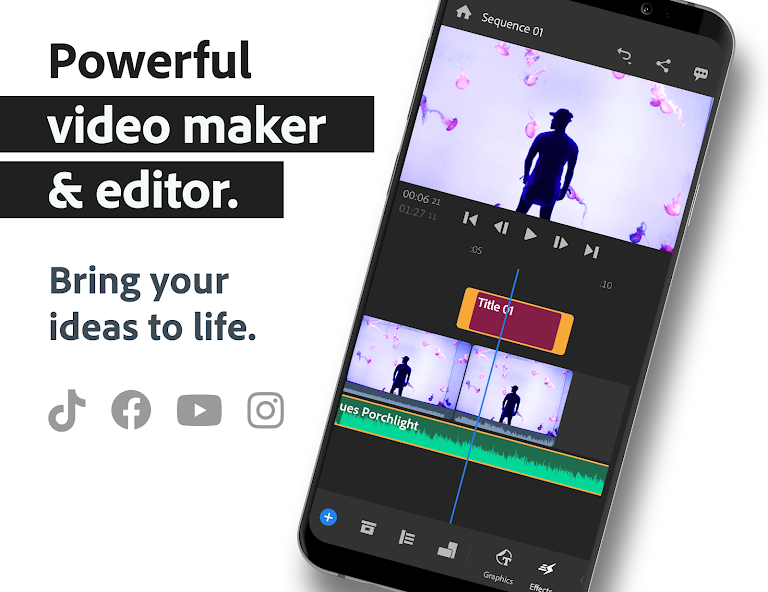
How to Get Started with Adobe Premiere Rush?
- 1. **Download and Install**: Go to the Adobe website or your preferred app store to download and install Adobe Premiere Rush.
- 2. **Create an Adobe Account**: Sign in with an existing account or create a new one to access the software.
- 3. **Start a New Project**: Open Premiere Rush and click on the “Create a New Project” button.
- 4. **Import Media**: Select the video clips, images, and audio files you want to include in your project from your device or cloud storage.
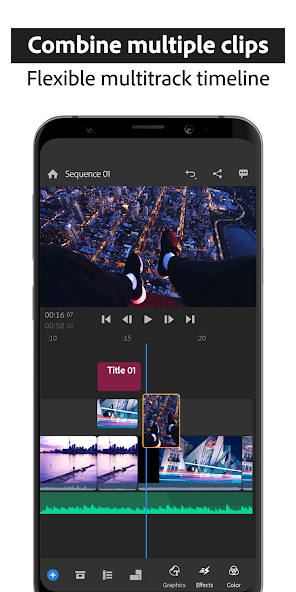
- 5. **Organize Clips**: Drag and drop your media files into the timeline in the order you want them to appear.
- 6. **Edit Your Video**:
- - **Trimming**: Select a clip and use the trimming tools to cut down the length.
- - **Splitting**: Use the razor tool to split clips into segments.
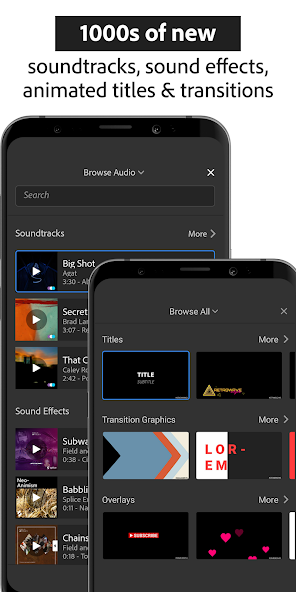
- - **Text and Titles**: Add titles and text overlays from the “Titles” section.
- 7. **Add Transitions**: Incorporate transitions between clips by selecting the transition options in the editing panel.
- 8. **Adjust Audio**: Add background music or adjust audio levels using the audio editor.
- 9. **Color Correction**: Use the color grading tools to adjust the look of your video for a polished finish.
- 10. **Export Your Project**: When satisfied, click on the export button to choose your export settings, then save your video.
- 11. **Share**: Upload your video directly to social media or save it to your device for later use.
10 Pro Tips for Adobe Premiere Rush Users
- 1. Utilize Templates: Start with built-in templates for titles and transitions to speed up your editing process.
- 2. Color Correction: Use the color correction tools to enhance your footage; adjust brightness, contrast, and saturation for a polished look.
- 3. Keyboard Shortcuts: Familiarize yourself with keyboard shortcuts to improve your workflow and efficiency while editing.
- 4. Audio Mixing: Take advantage of the audio tools to balance sound levels and use background music that complements your video content.
- 5. Export Settings: Choose the right export settings based on your intended platform to ensure optimal video quality and file size.
- 6. Multi-Device Editing: Use the cloud features to edit on multiple devices seamlessly, ensuring you can work wherever you are.
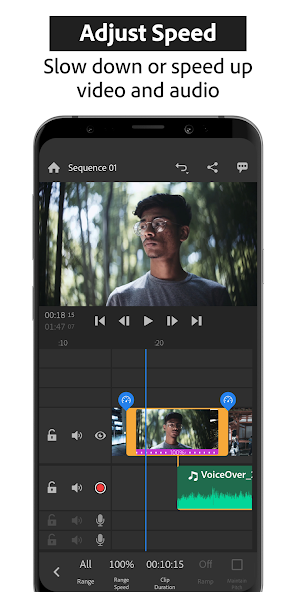
- 7. Video Speed Adjustment: Experiment with speed adjustments to create dramatic effects or highlight important moments in your footage.
- 8. Custom Graphics: Create personalized graphics and overlays to enhance branding and storytelling in your videos.
- 9. Preview and Review: Regularly preview your project to catch any errors or areas for improvement before finalizing your edits.
- 10. Stay Organized: Keep your media files organized in bins to streamline your editing process and easily locate assets when needed.
The Best Hidden Features in Adobe Premiere Rush
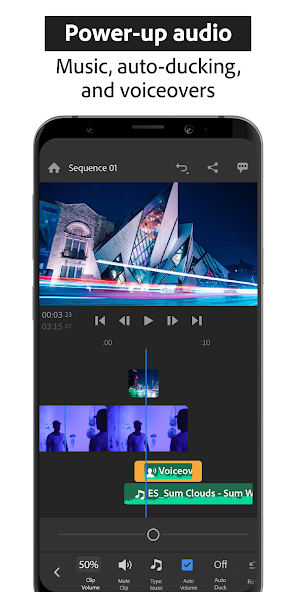
- Audio Ducking: Automatically lowers background music levels when dialogue is detected.
- Speed Ramping: Create dramatic slow-motion or fast-motion effects with keyframes.
- Color Correction: Access to built-in filters and color adjustment tools for enhanced video quality.
- Motion Graphics Templates: Use pre-built templates for easier title and graphics integration.
- Multi-Track Editing: Manage multiple video and audio tracks for better project organization.
- Cloud Syncing: Work on projects across different devices seamlessly with cloud storage.
- Automatic Framing: Easily adjust video framing for different aspect ratios and formats.
- Voiceover Recording: Directly record voiceovers within the app for convenient audio editing.


1.Rate
2.Comment
3.Name
4.Email