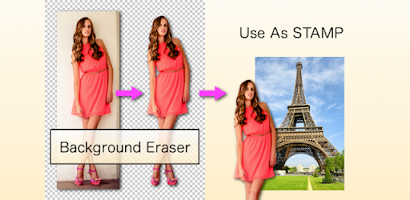
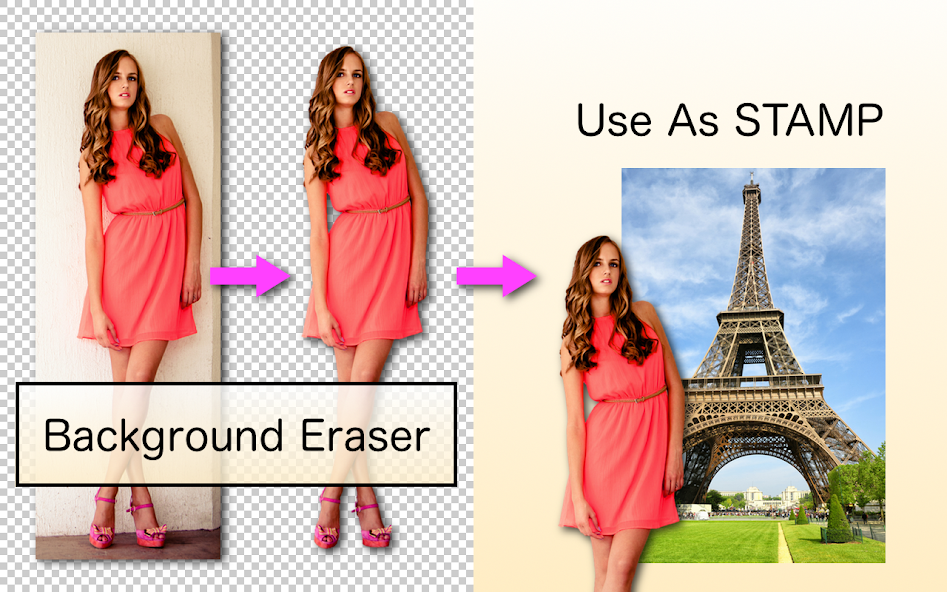
How to Get Started with Background Eraser?
- 1. Choose Software: Select a background eraser app or software like Adobe Photoshop, GIMP, or online tools like Remove.bg.
- 2. Upload Image: Import your photo into the chosen software.
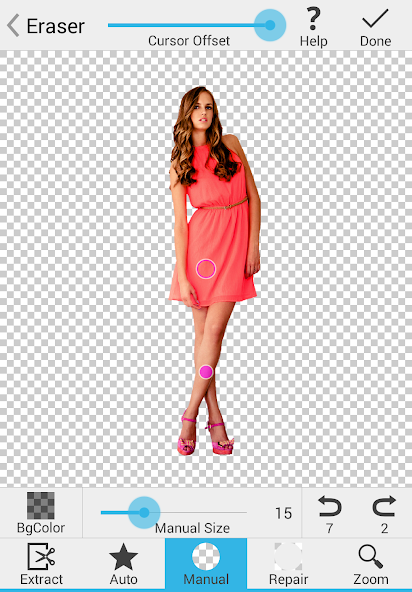
- 3. Select Background Eraser Tool: Locate the background eraser tool within the software.
- 4. Adjust Settings: Set the brush size and hardness according to the image details.
- 5. Start Erasing: Carefully trace around the subject to remove the background. Zoom in for precision.
- 6. Refine Edges: Use feathering or refining tools to smooth out the edges of the subject.
- 7. Save Your Work: Export the edited image in a suitable format like PNG or JPEG.
- 8. Practice: Experiment with different images to improve your skills.
10 Pro Tips for Background Eraser Users
- 1. Use High-Resolution Images: Start with high-quality images to ensure smoother edges and better detail during the background removal process.
- 2. Adjust Brush Size: Use a smaller brush for intricate areas and larger brushes for simpler backgrounds to enhance precision.
- 3. Zoom In: Zoom in on the subject while erasing to capture fine details and avoid accidentally removing important parts.
- 4. Utilize Edge Detection: Take advantage of edge detection tools that automatically identify and preserve sharp edges of the subject.
- 5. Layering Technique: Use layers to separate the subject from the background, making it easier to edit and adjust without losing quality.
- 6. Soft Edges: Apply a soft edge or feathering effect to create a more natural transition between the subject and the new background.
- 7. Save in PNG Format: Save your images in PNG format to maintain transparency when using removed backgrounds.
- 8. Experiment with Backgrounds: Test various background options to find one that complements the subject and enhances the overall image.
- 9. Use Undo Function: Make use of the undo feature frequently to correct any mistakes without starting over.
- 10. Practice Consistency: Maintain a consistent style with your background removal to create a cohesive look across your photography portfolio.
The Best Hidden Features in Background Eraser
- 1. Smart Selection Tool: Automatically detects edges for precise cutouts, making the background removal process faster.
- 2. Layer Support: Allows users to work with multiple layers, enabling easy adjustments and adding new backgrounds seamlessly.
- 3. Zoom & Pan Functionality: Facilitates detailed editing by allowing close-up views of the areas being worked on.
- 4. Brush Size Adjustments: Provides customizable brush sizes for refining details, ensuring accurate background removal around intricate areas.
- 5. Undo/Redo Options: Allows users to easily revert changes or try different edits without starting from scratch.
- 6. Preset Backgrounds: Offers a variety of pre-designed backgrounds to quickly enhance the final image.
- 7. Export Formats: Supports multiple file formats for saving images, catering to different platforms and use cases.
- 8. Batch Processing: Enables handling multiple images at once, saving time for users working on large projects.