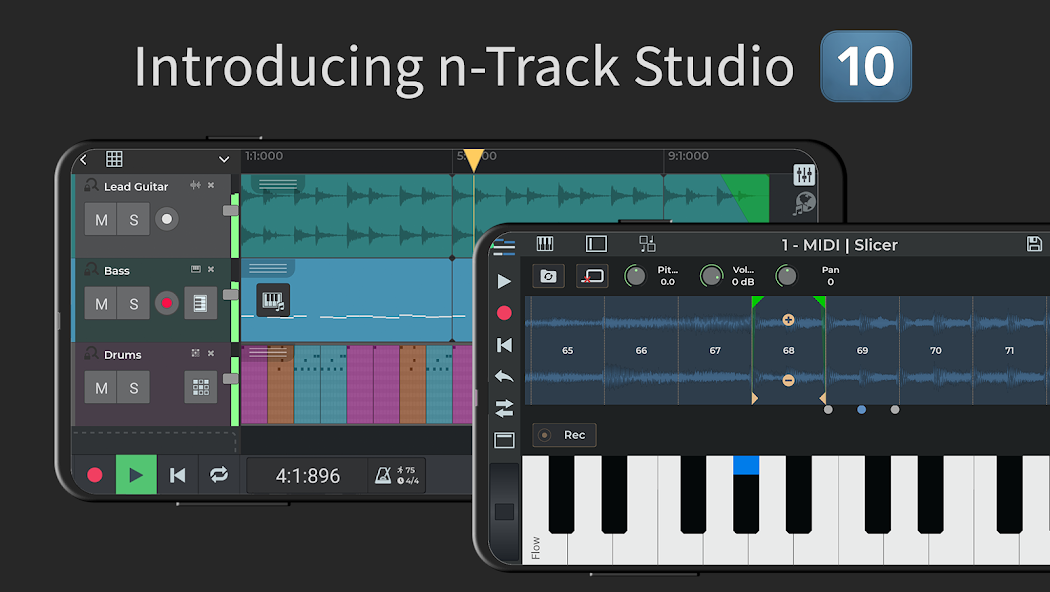
How to Get Started with n-Track Studio Pro | DAW?
- 1. Download and Install n-Track Studio Pro
- - Visit the official n-Track website and download the software for your operating system (Windows or macOS).
- - Follow the installation instructions provided.
- 2. Create a New Project
- - Launch n-Track Studio Pro.
- - Click on "New Project" to start a fresh session.
- - Choose a template or set the project preferences according to your needs.
- 3. Set Up Audio and MIDI Interfaces
- - Go to the "Preferences" section to configure audio settings.
- - Select your audio interface from the dropdown menu.
- - Set up MIDI devices if needed.
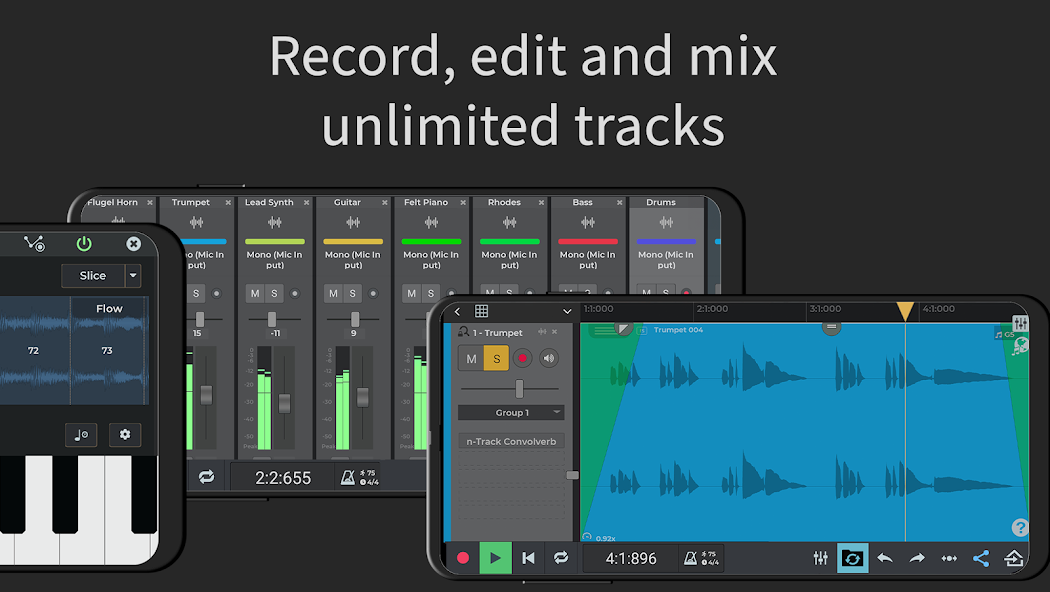
- 4. Add Tracks
- - Click on the "Add Track" button to insert audio or MIDI tracks.
- - Choose the type of track you require, such as microphone for vocals or virtual instruments for MIDI.
- 5. Record Audio or MIDI
- - Select the track you want to record.
- - Click the record button and start performing.
- - Stop recording when finished.
- 6. Edit Tracks
- - Select recorded clips to trim, split, or move them.
- - Use tools like volume, pan, and effects to adjust individual tracks.
- 7. Mix Your Project
- - Access the mixer view to balance levels and add effects.
- - Adjust EQ, reverb, and other processing for each track.
- 8. Arrange Your Song
- - Organize clips in the timeline to create the desired structure.
- - Use copy and paste to duplicate sections or create variations.
- 9. Export Your Project
- - Once satisfied with the mix, go to the "File" menu.
- - Select "Export" and choose the desired file format for your final output.
- 10. Save Your Work
- - Regularly save your project to avoid losing your progress.
- - Use "Save As" to create backups or different versions.
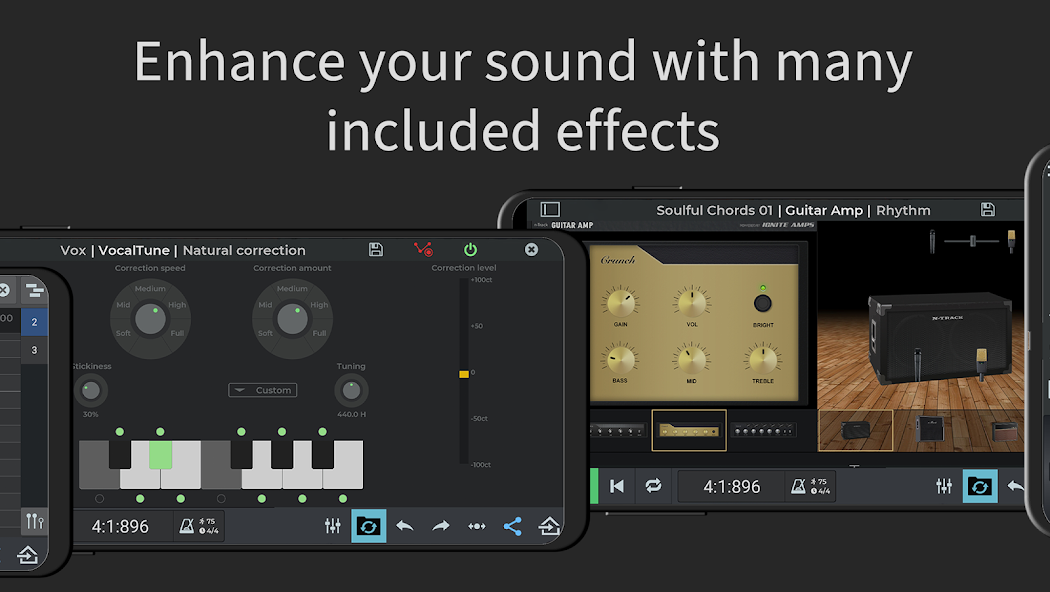
- 11. Explore Plugins and Effects
- - Add virtual instruments and effects plugins to enhance your sound.
- - Use the built-in library or download third-party plugins for additional options.
- 12. Learn and Experiment
- - Utilize online tutorials and the user manual for in-depth guidance.
- - Experiment with different features and techniques to improve your skills.
10 Pro Tips for n-Track Studio Pro | DAW Users
- 1. **Familiarize with Shortcuts**: Learn and use keyboard shortcuts for common tasks to speed up your workflow.
- 2. **Utilize the Mixer**: Make the most of the mixer window for better control over levels, panning, and effects.
- 3. **Manage Your Tracks**: Organize your tracks by color-coding and labeling them for easy identification during mixing.
- 4. **Use Effects Sparingly**: Apply effects tastefully; avoid over-processing to maintain a clean sound.
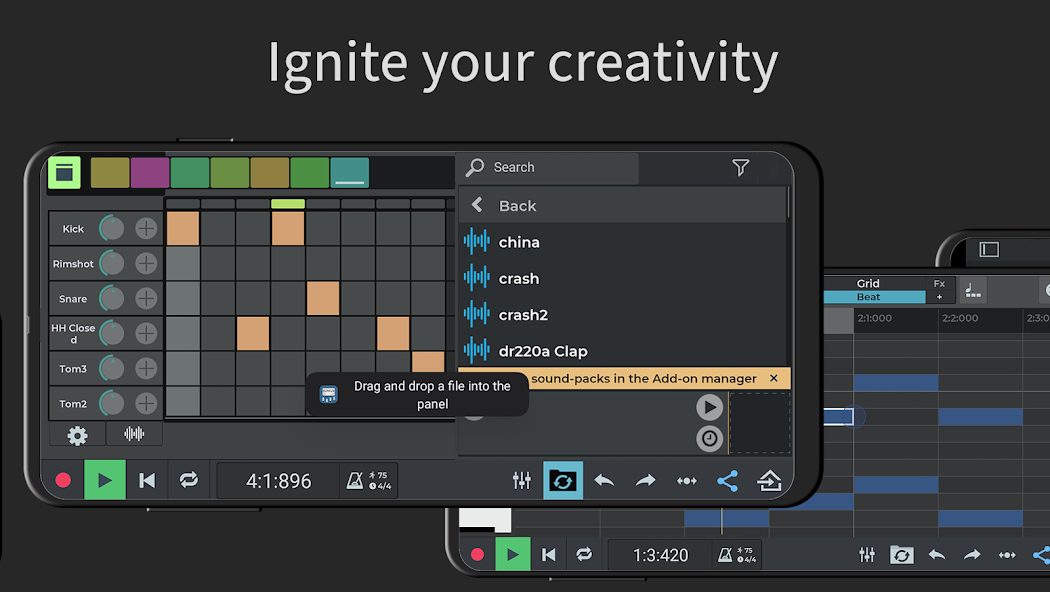
- 5. **Explore Loop and Sample Libraries**: Enhance your tracks by incorporating loops and samples from n-Track’s built-in library.
- 6. **Take Advantage of Automation**: Use automation to control volume, pan, and effects over time for dynamic mixes.
- 7. **Record in Layers**: Record different elements separately to maintain flexibility during the mixing process.
- 8. **Monitor Your Levels**: Keep an eye on your audio levels to prevent clipping and ensure a balanced mix.
- 9. **Experiment with MIDI**: Utilize MIDI capabilities for composing and arranging tracks with virtual instruments.
- 10. **Make Use of the Export Options**: Explore different export formats and quality settings to optimize your final product for various platforms.
The Best Hidden Features in n-Track Studio Pro | DAW
- 1. **Automation**: n-Track Studio Pro allows for advanced automation on tracks, enabling users to automate volume, pan, effects parameters, and more, providing intricate control over the sound dynamics.
- 2. **Multitrack Recording**: Users can record multiple tracks simultaneously, which is perfect for band setups or live sessions, allowing for a richer sound capture.
- 3. **Advanced MIDI Editing**: The software includes powerful MIDI tools for composing and editing, including a piano roll view, step sequencer, and MIDI effects.
- 4. **Built-in Effects**: n-Track Studio Pro comes with a range of built-in effects, including reverb, delay, compressor, and EQ, all customizable for tailored sound design.
- 5. **Collaborative Features**: The DAW supports cloud collaboration, letting musicians work together remotely on projects in real-time.
- 6. **Mobile Integration**: Users can easily connect n-Track Studio Pro with its mobile app, allowing for projects to be started on a phone and finished on a desktop or vice versa.
- 7. **Songwriter's Mode**: This feature simplifies the process of creating songs by providing tools for quick arrangement and structure organization.
- 8. **Export Options**: Offers various export settings, including high-quality audio formats, batch exporting, and direct uploads to platforms like SoundCloud.
- 9. **Rewire Support**: n-Track Studio Pro supports Rewire, enabling integration with other DAWs and applications for enhanced musical possibilities.
- 10. **Visual Metronome**: The software features a visual metronome that provides visual cues alongside audio, helping users keep time while recording or practicing.
n-Track Studio Pro | DAW Faqs
How do I record audio in n-Track Studio Pro?
To record audio, open a project, tap on the '+' button, select 'Audio Track', then press the red 'Record' button. Speak or play your instrument to start recording.
Can I add effects to my tracks?
Yes, you can add effects. Tap on the track you want to enhance, select 'Effects', and then choose from a range of available effects to apply to your audio.
How do I use MIDI instruments in n-Track Studio Pro?
To use MIDI instruments, create a new MIDI track by tapping the '+' button, select 'MIDI Track', and then choose a virtual instrument. You can record MIDI by using a connected keyboard or the on-screen piano.
How can I mix my tracks?
To mix your tracks, enter the mixing console by tapping on 'Mixer'. Here you can adjust volumes, panning, and effects for each track. Use the sliders and knobs to achieve your desired sound mix.
What steps do I follow to export my project?
To export your project, follow these steps: 1. Tap on the 'Share' icon. 2. Select 'Export'. 3. Choose the desired file format and quality. 4. Tap 'Export' again to save your project.

1.Rate
2.Comment
3.Name
4.Email